
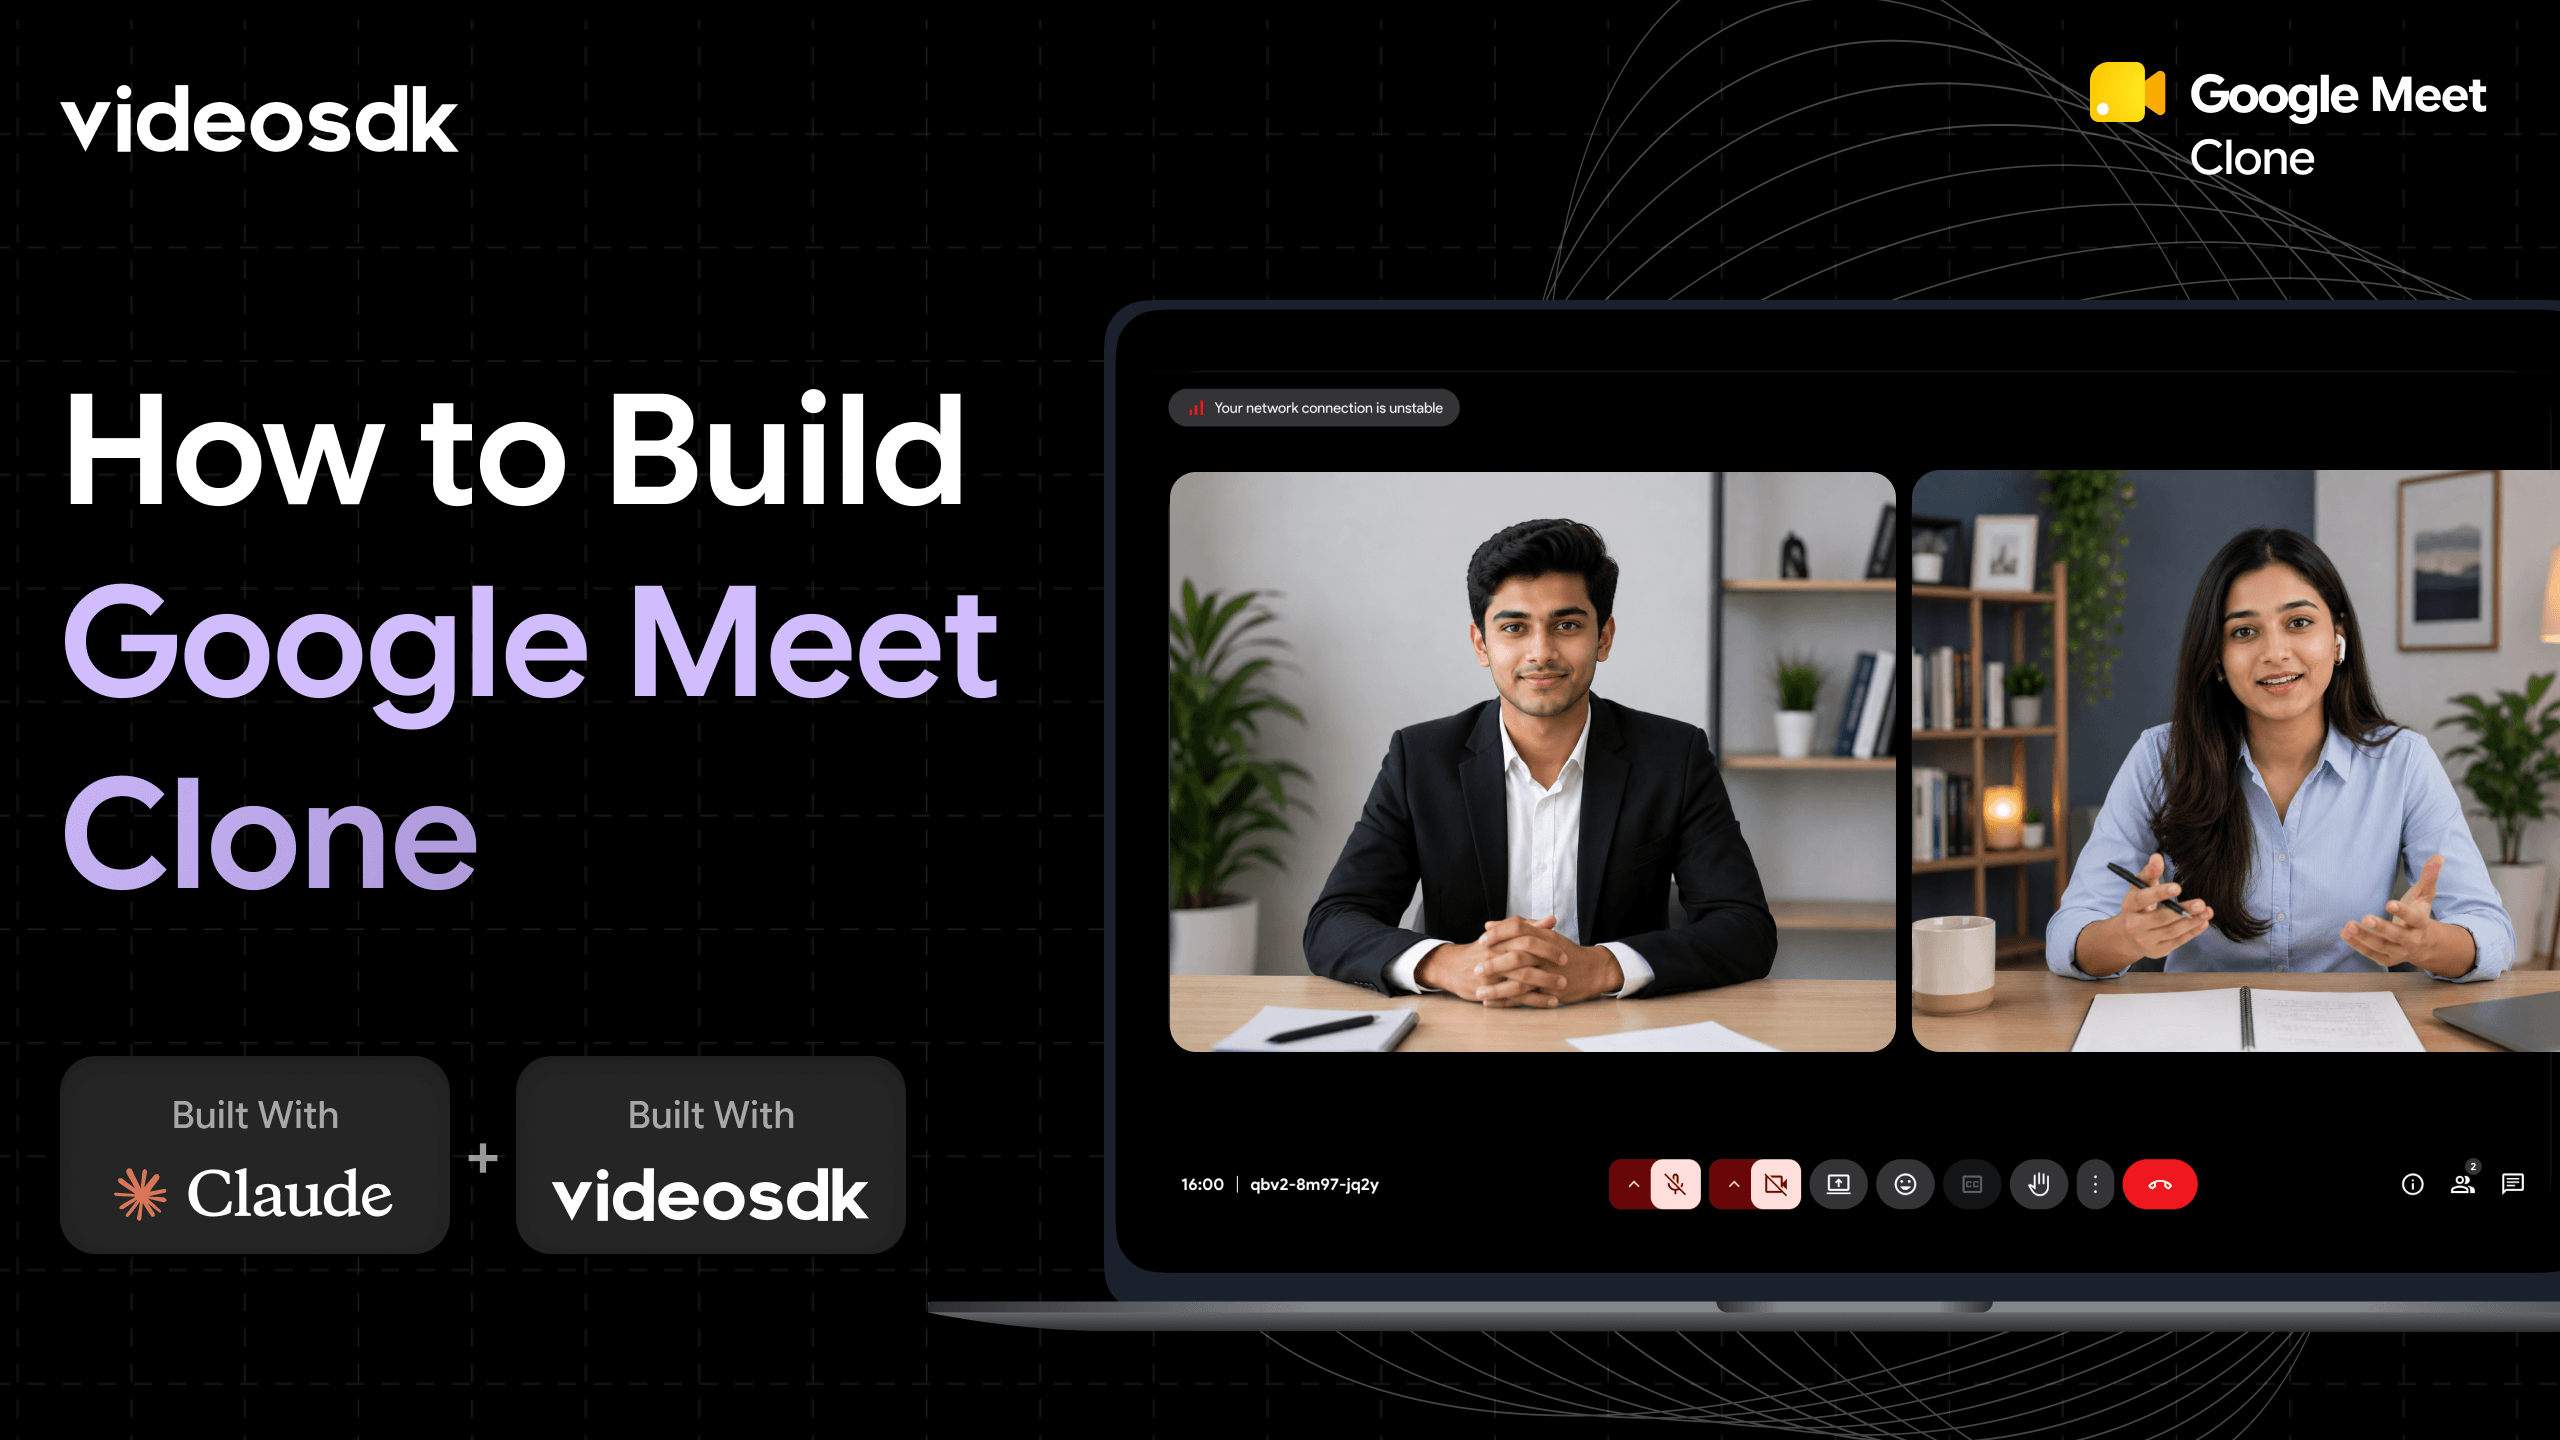


To build a Google Meet clone, clone the MIT-licensedvideosdk-community/google-meet-clonerepo, runnpm installandnpm run dev, then add a freeVIDEOSDK_API_KEYandVIDEOSDK_SECRETto.envfor real WebRTC video over VideoSDK's SFU. Claude Code handles the customizing.
That is the whole path, and it takes about ten minutes. You start from a complete React video call app: a pixel-accurate Google Meet UI sitting on top of VideoSDK's real WebRTC infrastructure. You clone it, you run it, you make it yours. No real-time video experience needed, no signaling server to write, no TURN infrastructure to rent
Key Takeaways
- The repo is free and MIT-licensed. Clone
videosdk-community/google-meet-clone, runnpm install, and you have the full codebase. - Preview the UI with zero keys. A built-in fake mode renders the interface locally so you can click around before signing up for anything.
- Two keys unlock real video. A free
VIDEOSDK_API_KEYandVIDEOSDK_SECRETturn it into genuine multi-participant meetings. The server mints tokens for you. - Claude Code does the customizing. Ask it to rebrand, add features, or change behavior in plain English.
- One click to deploy. A Vercel button ships it to the internet with the two env vars pre-filled.
What is a Google Meet clone?
A Google Meet clone is defined as a self-hosted video conferencing app that reproduces Google Meet's interface and meeting mechanics on infrastructure you control. It works by pairing a Meet-styled front end with a WebRTC media backend that routes audio and video between participants.
The hard part was never the UI. It is the media layer: peer negotiation, an SFU to route streams so a five-person call does not melt a laptop, TURN relays for participants behind restrictive firewalls, and signed tokens so a guest cannot grant themselves host powers.
The videosdk-community/google-meet-clone repo hands you the UI and delegates that media layer to VideoSDK's SFU, which is why the whole thing fits in one afternoon instead of one quarter. Real-time transport follows the W3C WebRTC specification, so the browser side is standards-based rather than proprietary.
Most of the competing tutorials in this space stop before that line. The Strapi 5 and Next.js series and the popular WebRTC-plus-Socket.io courses have you hand-roll signaling with peer-to-peer connections, which works for two people and degrades badly past four. This guide starts from an SFU, so scaling is not a rewrite.
Features the repo ships with
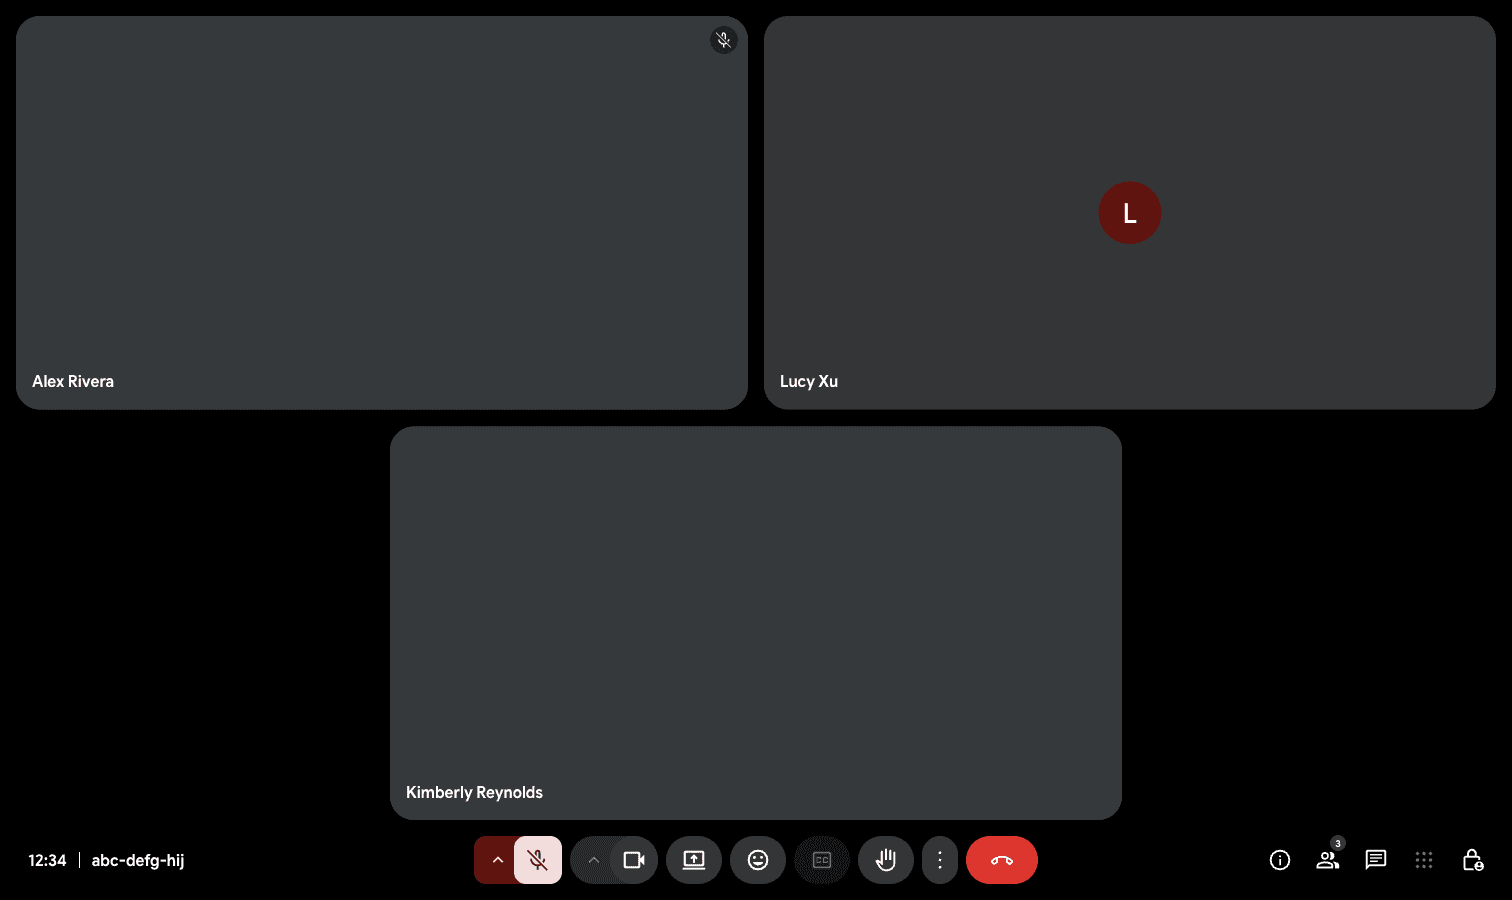
The repo ships the feature set that actually matters in a meeting app, not a video-chat demo with two tiles.
- Real-time HD video and audio over VideoSDK's SFU, so calls scale past two people.
- A grid / gallery view with tiles that resize themselves as the room fills up.
- A pre-join green room with a mirrored camera preview and device pickers.
- Chat with saved history, floating emoji reactions, and raise hand, all synced to late joiners.
- Screen sharing and cloud recording.
- Host controls with a real waiting room: guests knock, and the host admits or removes them.
It looks like Google Meet because the UI is built from a Figma reference, down to the icons and fonts. It works like Google Meet because the media is real.
Prerequisites for building the clone
You need very little to start:
- Node.js 18 or newer (20+ recommended). Check with
node -v. - git, to clone the repo.
- A free VideoSDK account for live video. You'll grab the keys in Step 3, so you can skip this until then.
- Claude Code (optional, but it's the star of Step 4). It's Anthropic's terminal coding agent, documented at docs.claude.com.
That's it. No database, no backend to stand up, no accounts system to wire in.
Step 1 - Clone the Google Meet clone repo
Getting the code is two commands and one install, and the lockfile pins every dependency for you.
git clone https://github.com/videosdk-community/google-meet-clone
cd google-meet-clone
npm install
This project uses npm as its package manager, so npm install reads the committed lockfile and pulls everything down: React 19, TypeScript, Vite, and the @videosdk.live/react-sdk. Give it a minute.
While that runs, here's the shape of what you cloned. Feature components live under src/routes/ (the landing page, the green room, and the in-call screen). Every call into VideoSDK is hidden behind a single hook layer in src/meeting/, and the token-signing serverless functions sit in api/. You rarely need to touch the SDK directly, which is exactly why customizing this is pleasant. If you do want the raw surface, it is the same one documented in the VideoSDK React quickstart.
Step 2 - Preview the UI in fake mode
You don't need any keys to see the interface. The project ships a fake mode that renders the full UI against a local mock, no camera and no network required.
Start the dev server:
npm run dev
It serves the app on http://localhost:5173. Now open a meeting URL with the ?fake=ok switch appended:
http://localhost:5173/abc-defg-hij?fake=ok
You'll first land in the green room, then join into a fully rendered meeting: participant tiles, the control bar, chat, reactions, the works. It's perfect for exploring the layout, tweaking styles, and getting your bearings.
One honest caveat: fake mode is a UI preview, not a real call. It uses a built-in fake client with fabricated participants, so nothing goes over the network and no one else can join. It's a developer convenience that's compiled out of production builds entirely. For actual meetings with real people, you need keys, which is the next step.
Step 3 - Add real video with VideoSDK keys
Two environment variables turn the UI preview into genuine multi-participant meetings, and neither one ever reaches the browser.
Head to the VideoSDK dashboard and create a free account. You'll get an API key and a secret.
Copy the example env file and paste your credentials in:
cp .env.example .env
Open the new .env and fill in the two values:
VIDEOSDK_API_KEY=your_key
VIDEOSDK_SECRET=your_secret
Those are the only two variables that matter. Restart the dev server (npm run dev) and you're live. Click New meeting on the landing page and it creates a real VideoSDK room and makes you its host. Open the meeting link in a second browser or device to join as a guest.
Two things are worth knowing about how this stays safe. First, the secret never reaches the browser. It's read only by the functions in api/, and the project deliberately keeps it out of any VITE_-prefixed variable so it can't get bundled into the client.
Second, there's no manual token step. When a client joins, the server mints the right meeting token on the spot: a host token if the client holds a valid grant for that room, a guest token otherwise. You paste your key and secret once, and token signing is automatic from then on. The token format and its permission claims are described in the VideoSDK authentication docs.
Step 4 - Customize the clone with Claude Code
Claude Code turns customization into a conversation, because every VideoSDK call in this repo already sits behind one hook layer.
Instead of hunting through files, you describe what you want and let the agent make the change. Run claude in the project root and try prompts like these. (These are illustrative examples of what you'd ask, not magic incantations. Phrase them however feels natural.)
Rebrand the colors:
"The app uses design tokens generated from Figma. Change the primary accent color to a deep purple across the UI, and show me which files you touched."
Add a reaction:
"The reactions picker in the control bar has a set of emoji. Add a fire emoji to the list so participants can react with it, and make sure it floats up on the tiles like the others."
Tweak the meeting controls:
"In the in-call control bar, add a keyboard shortcut that toggles the People panel, and show it in the button's tooltip."
Understand before you change:
"Explain how a guest goes from clicking a meeting link to appearing in the host's waiting room. Trace the path through the code."
Point Claude Code at src/routes/ for anything visual and src/meeting/ for anything media-related, and it'll follow the existing patterns rather than reinventing them. Ask, review the diff, run the app, repeat. That loop is the whole workflow.
Step 5 - Deploy to Vercel
Deployment is one button because the repo ships nothing that needs configuring, only the two secrets.
When you're ready to share it, the fastest path is the one-click Vercel button in the repo's README. It clones the project into your own Vercel account and prompts you for the two environment variables (VIDEOSDK_API_KEY and VIDEOSDK_SECRET), with a link straight to your API keys.
Prefer to do it yourself? Build and deploy:
npm run build
Then deploy to any host that runs the api/ serverless functions. On Vercel it's zero-config: there's no vercel.json to write, the functions become endpoints automatically, and the single-page app is served statically. Set the same two env vars in your host's dashboard, and tokens get minted at request time. Nothing is baked into the client, and there's nothing to paste per meeting.
Tour of the running meeting app
Three surfaces make up the whole app: a landing page, a green room, and the call itself.
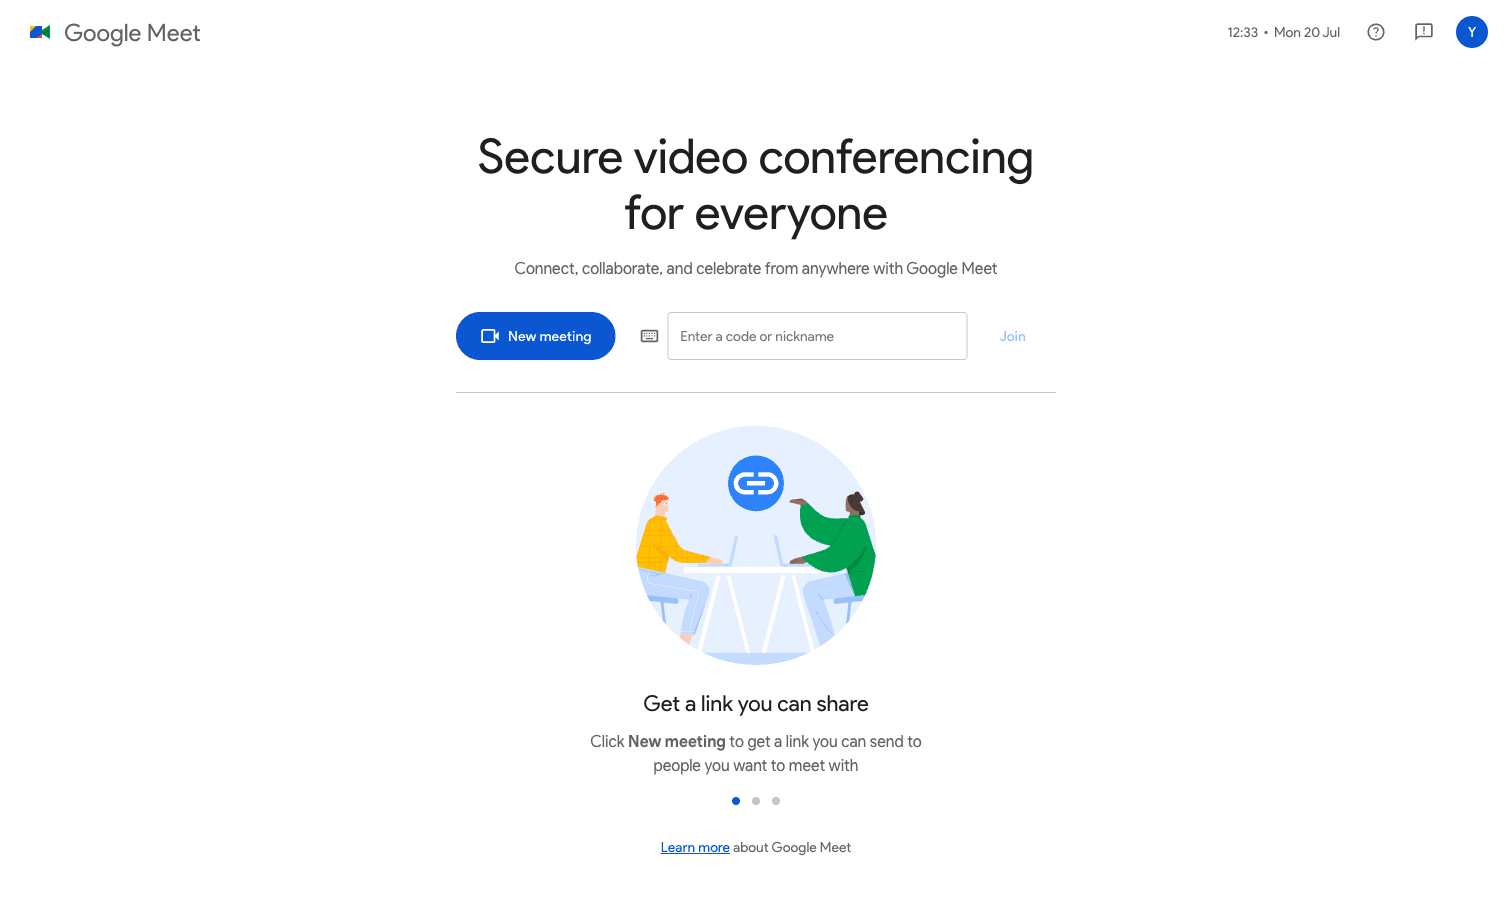
The landing page (/) is where you start a meeting or join by code. Click New meeting and it spins up a real room and hands you the host role.
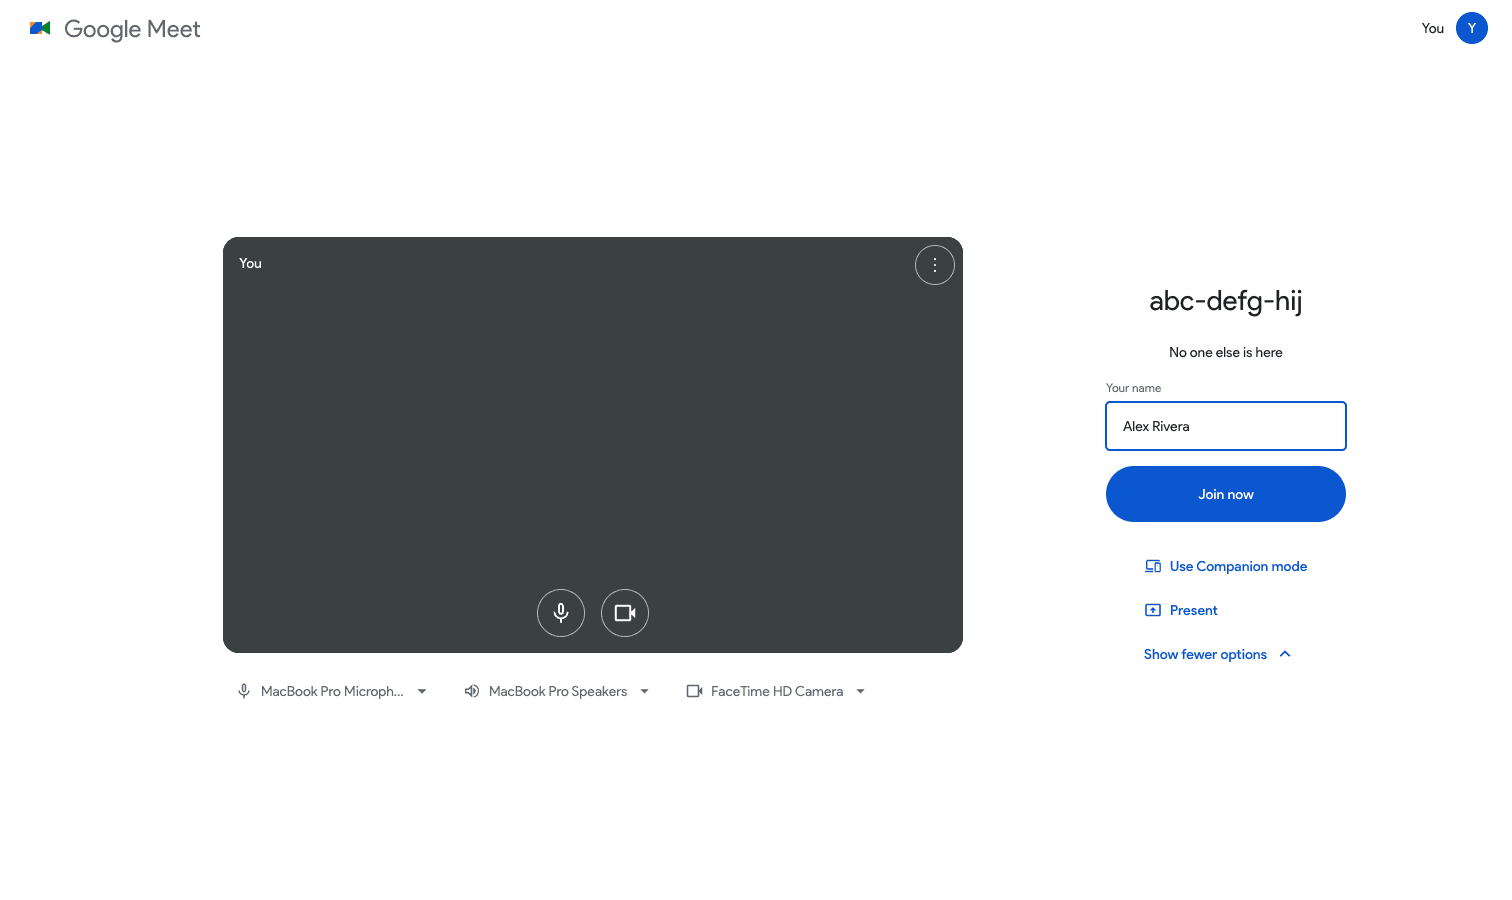
Every meeting lives at /:meetingId, and that one route covers both stages. First you hit the green room: type your name, check yourself in the mirrored camera preview, pick your mic and camera, and hit Join now. Then the view swaps in place to the call itself, and the URL never changes, exactly like real Meet.
Inside the call you get the grid of participant tiles that size themselves to the room, a control bar for mic, camera, screen share, reactions, and raise hand, plus a chat panel that keeps its history so late joiners catch up.
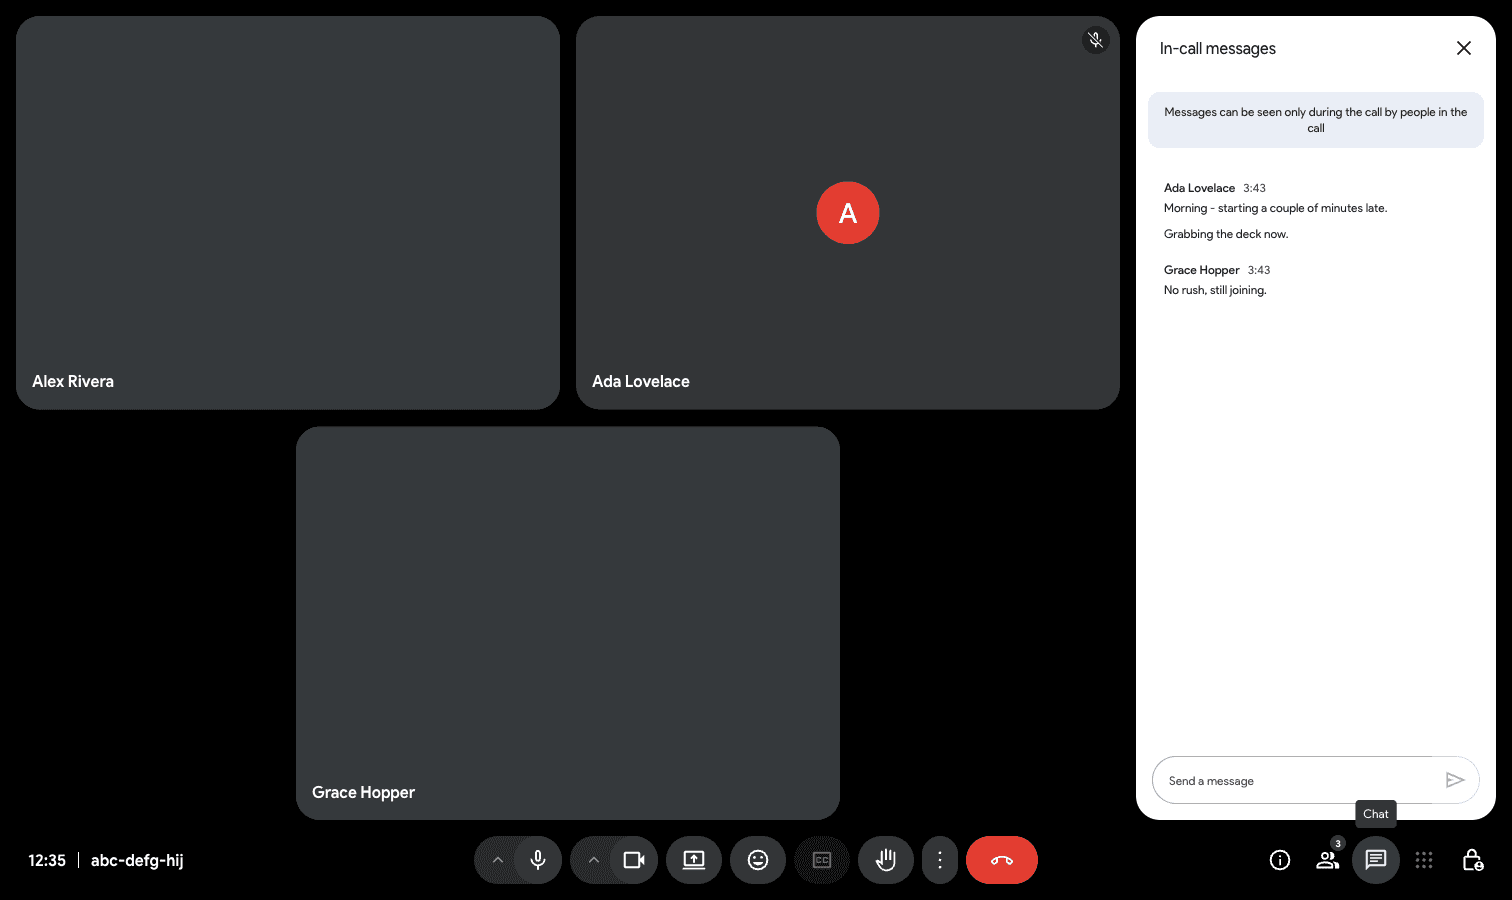
Open the People panel to see who's in, and if you're the host, you get the controls that make it real: a waiting room where guests knock for admission, the ability to mute at the media server, and cloud recording with a live indicator. Host power isn't a hidden button either. It's a server-signed grant, so a guest's client simply doesn't hold the capability.
Taking your Google Meet clone to production
Five things change between localhost:5173 and a meeting your users trust, and most clone tutorials never mention any of them.
HTTPS is not optional. Browsers only expose getUserMedia on secure origins, with localhost as the single exemption. Deploy behind TLS or the camera never turns on.
NAT traversal is already handled, and that is the point. Roughly one in five WebRTC connections cannot be established peer-to-peer and needs a TURN relay. Because media here goes through VideoSDK's SFU, you inherit its ICE and relay infrastructure instead of standing up and paying for coturn.
Token lifetime needs a decision. The functions in api/ mint short-lived meeting tokens per join. If you extend the app with long meetings or reconnect flows, decide what happens when a token expires mid-call, and refresh rather than dropping the participant.
Recordings need a home. Cloud recording writes to VideoSDK storage by default. For anything with a retention or residency requirement, wire the recording webhook to your own bucket and record where that data may legally live.
SPA fallback breaks deep links if you forget it. Meeting URLs are client-side routes. On Vercel this is automatic; on Nginx, S3, or any static host, add a catch-all rewrite to index.html or /:meetingId returns a 404 to every invited guest.
How does this Google Meet clone compare to Google Meet?
This clone matches Google Meet's UI and meeting mechanics, and deliberately skips the accounts-and-history backend behind it.
| Capability | This clone | Google Meet |
|---|---|---|
| HD video, audio, screen share | Yes, over VideoSDK's SFU | Yes |
| Chat, reactions, raise hand | Yes, synced to late joiners | Yes |
| Waiting room and host controls | Yes, server-signed grants | Yes |
| Cloud recording | Yes | Yes, on paid Workspace tiers |
| Identity and accounts | A name you type | Google account |
| Calendar and meeting history | Not included | Yes |
| Source code and self-hosting | MIT, fully yours | Closed, hosted only |
The verdict is conditional. Use Google Meet when you want meetings to just exist for a team that already lives in Google Workspace. Build on this clone when video needs to sit inside your own product, carry your branding, and follow your own permission model. It is a starting point for a product, not a replacement for a hosted meeting service.
Definitions glossary for meeting apps
- Room - the VideoSDK unit a meeting happens in. Participants join a room by ID, and every media stream is scoped to it. Here, the room ID is the
/:meetingIdin the URL. - Participant - one connected client in a room, carrying its own audio, video, and screen-share tracks plus a role that decides what it may do.
- Meeting token - a short-lived signed credential granting a client permission to join a specific room, minted server-side in
api/from your API key and secret. - SFU (Selective Forwarding Unit) - a media server that receives each participant's stream once and forwards it to the others, so upload cost stays flat as the room grows.
- Prebuilt UI Kit - VideoSDK's drop-in meeting interface, embeddable as an iframe or React component when you want a working call without building the UI at all.
Frequently asked questions about Google Meet clones
Do I need a VideoSDK account to build a Google Meet clone with this repo?
For real meetings, yes, and it's free. You need a VIDEOSDK_API_KEY and VIDEOSDK_SECRET from the dashboard. To just explore the UI, no: fake mode (?fake=ok) runs with no keys at all.
Is the keyless run a real call?
No, the keyless run is not a real call. Fake mode is a local UI preview using a built-in mock client. It's great for design work and clicking through the interface, but nobody can actually join and nothing goes over the network. Add the two keys for genuine multi-participant video.
Is this Google Meet clone really free and open source?
Yes, it is genuinely free and open source. The repo is released under the MIT License, so you're free to use, modify, self-host, and build a commercial product on top of it.
Can I self-host it instead of using Vercel?
Yes, you can self-host it anywhere that runs Node functions. Set VIDEOSDK_API_KEY and VIDEOSDK_SECRET as environment variables, run npm run build, and deploy the api/ functions alongside the static build. On static-only hosts, add an SPA fallback so meeting deep-links load instead of 404ing.
Do I have to write token-minting code?
No, you do not write any token-minting code. The server mints host and guest tokens per request from your key and secret. There's nothing to sign by hand and no token script to run.
How many participants can a meeting hold?
Capacity is set by VideoSDK's SFU rather than the UI, so the grid layout is the practical limit long before the media layer is. Check your plan's concurrency limits before promising a number.
Can I build a Zoom clone the same way?
Yes, the same architecture applies. Swap the Meet-styled components in src/routes/ for your own layout and keep the src/meeting/ hook layer untouched, since the media logic is UI-agnostic.
Conclusion and next steps
You're a few commands away from your own open-source Google Meet clone, running on real WebRTC infrastructure rather than a demo signaling server.
- Try it live on google-meet-clone-by-videosdk.vercel.app, the deployed demo you can open right now.
- Fork
videosdk-community/google-meet-cloneandnpm install. - Grab free keys from the VideoSDK dashboard and drop them in
.env. - Open Claude Code and start shaping it into your product.
From there, the natural next steps are the VideoSDK React quickstart if you want to understand the hook layer, the Prebuilt UI Kit if you'd rather skip UI work entirely on your next app, and interactive live streaming if your product needs an audience larger than a meeting.
Real video, a polished UI, and an AI agent to do the heavy lifting. What are you building on top of it?